
Introduction to Red Velvet Poke Cake
If you find yourself juggling a busy life as a young professional, meal prep, and dessert options can often fall to the wayside. This is where the red velvet poke cake comes in as a game changer. Not only is it easy to prepare, but it also brings a touch of elegance to any gathering, making it perfect for impressing your friends or hosting a cozy dinner party.
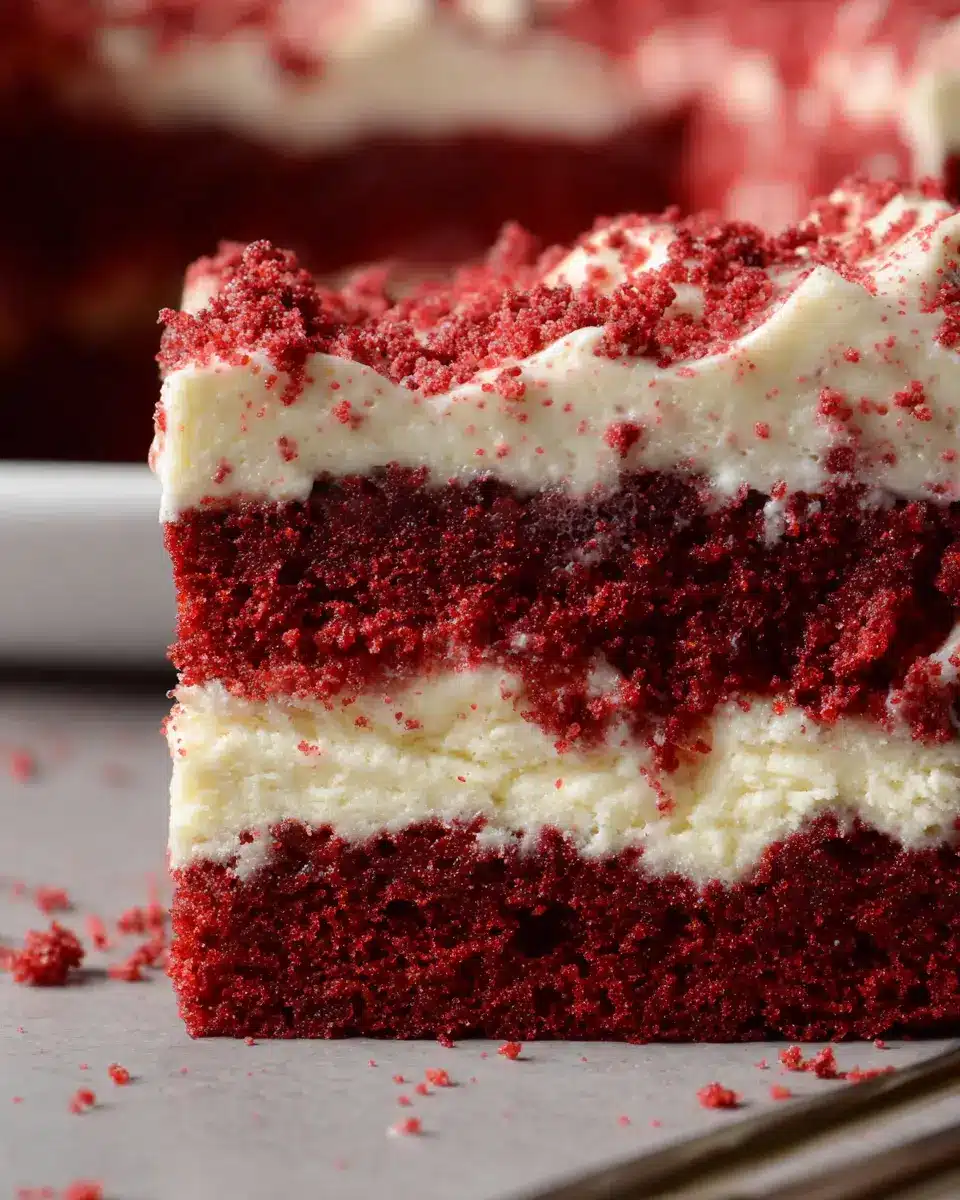
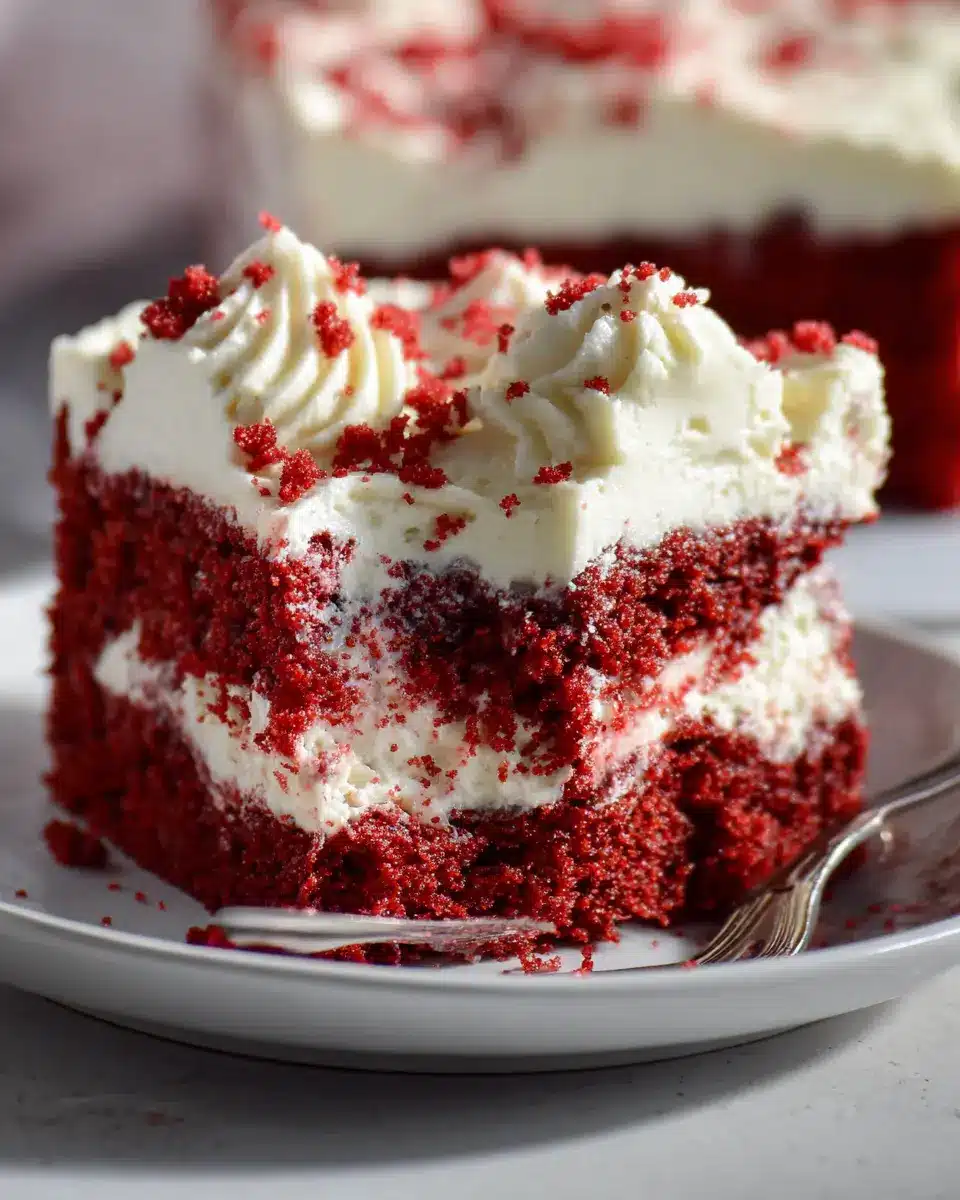
Imagine the soft, moist layers of red velvet cake infused with a luscious cream filling, creating an irresistible treat that’s both visually stunning and delicious. The poke cake method ensures that every bite is packed with flavor, as the sweetened condensed milk-soaked goodness seeps into every crevice.
What’s even better? You can whip this up in a matter of hours and chill it while you catch up on your favorite series or tackle some work. This dessert is not just good for your taste buds; studies show that incorporating sweet treats into a balanced life can enhance your mood, helping to manage the daily stresses that come with work life.
So why not indulge in a little self-care with this delightful red velvet poke cake? It's simple, quick, and oh-so-satisfying! You owe it to yourself.
Why Red Velvet Poke Cake is Ideal for Young Professionals
In our fast-paced lives, convenience is key. This dessert fits the bill perfectly, allowing you to create a showstopper without hours of labor in the kitchen. The combination of its vibrant color and rich flavor makes it perfect for celebrations or simply to enjoy after a long week. Plus, with minimal cleanup required, you can enjoy the sweet taste of success and leave the stress behind.
For more insights on quick and enjoyable recipes, check out Food Network and Bon Appétit for a wealth of inspiration.
Ingredients for Red Velvet Poke Cake
Essential ingredients you need for a delicious poke cake
To whip up a delightful red velvet poke cake, gather these essential ingredients:
- 1 box of red velvet cake mix: This will be the star of your cake.
- 1 can (14 oz) sweetened condensed milk: Adds a rich and creamy texture.
- 2 teaspoons vanilla extract: For that warm, aromatic flavor.
- 2 blocks (8 oz each) cream cheese: Softened for a smooth frosting.
- ½ cup powdered sugar: To sweeten the cream cheese mixture.
- 1 tub (8 oz) whipped topping: Lighter texture to balance the creaminess.
These ingredients create a luscious cake that will have your friends and family asking for seconds!
Optional ingredients to enhance flavors and presentation
Take your red velvet poke cake to the next level with these optional additions:
- Sprinkles: They add a fun, festive touch. Use heart-shaped for special occasions or holiday-themed colors to celebrate.
- Mini chocolate chips: For that perfect chocolatey crunch that complements the velvety texture.
- Fruit toppings: Fresh strawberries or raspberries can elevate the flavor and presentation.
Feel free to mix and match these optional ingredients to create a cake that’s truly unique! For more ideas, check out resources from Taste of Home or Food Network.
Preparing Red Velvet Poke Cake
Making a red velvet poke cake is an exciting and rewarding experience that’ll impress your friends and family. This dessert is not only beautiful, with its rich colors, but it's also incredibly delicious! Let’s dive into the step-by-step process to create this delightful treat.
Baking the Red Velvet Cake
Start by preparing your red velvet cake mix according to the instructions on the box. You’ll want to bake it in a 9×13-inch pan for the best results. The rich aroma of the cake baking will fill your kitchen and set the mood for a fantastic dessert. If you're feeling adventurous, you could even make a homemade version, which often adds a personal touch to your cake.
Creating the Sweet Filling Mixture
While your cake is baking, it's time to create the sweet filling. In a mixing bowl, take one block of softened cream cheese and blend it with 1 teaspoon of vanilla. You can use a hand mixer, but mixing by hand works just as well if you prefer a little workout! Gradually pour in the sweetened condensed milk while mixing until the mixture is smooth. For more tips on creating creamy fillings, check out this resource.
Poking Holes in the Baked Cake
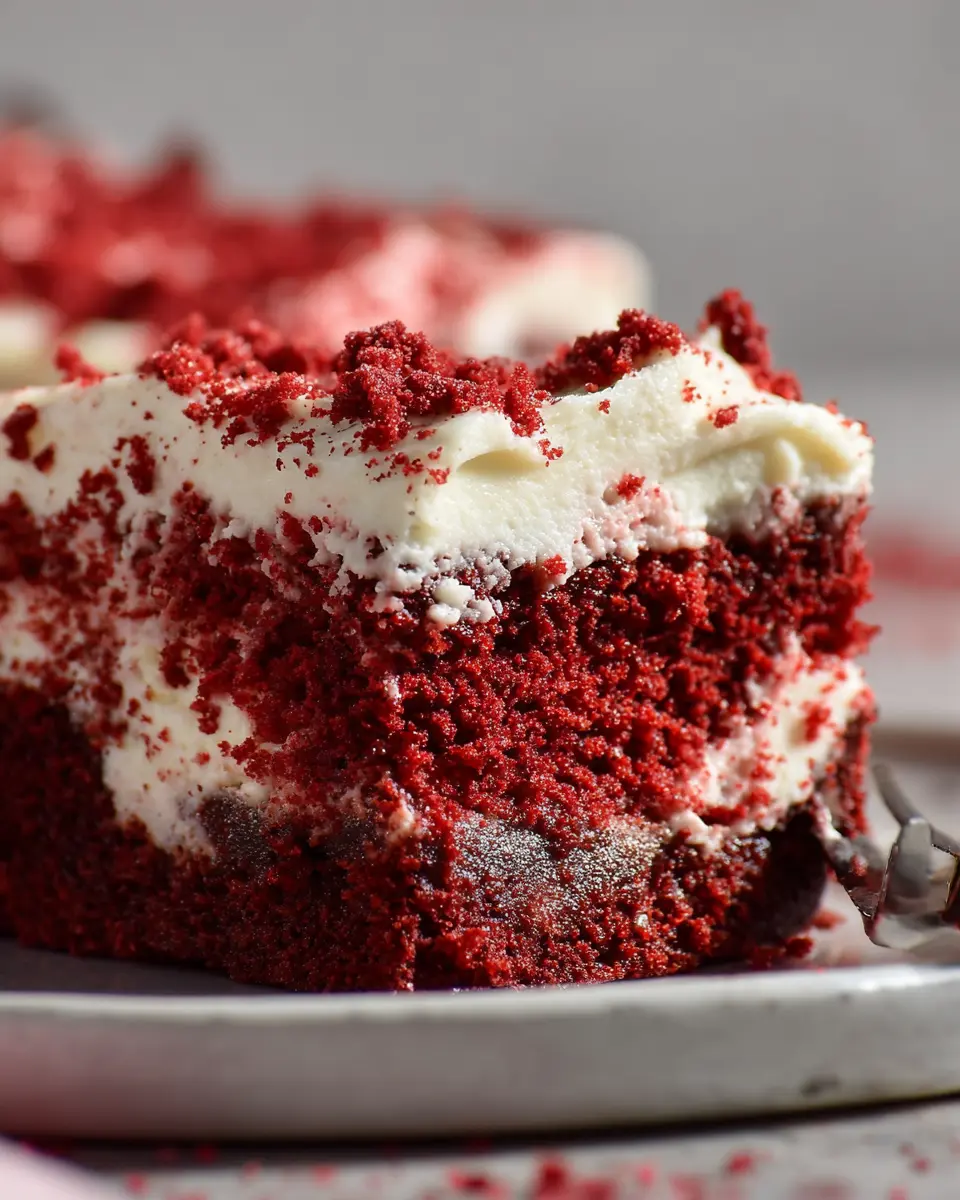
Once your cake is done baking, and you’ve allowed it to cool slightly, grab the handle of a wooden spoon (or a similar utensil) and start poking holes all over the cake. Poking holes allows the filling to seep through, turning your cake into a luscious, moist dessert. Be sure to make enough holes to ensure that every bite is infused with sweetness.
Pouring the Filling Over the Cake
Now, it’s time to pour that creamy filling right over the cake. Use a spatula to help spread the mixture evenly, ensuring it seeps deliciously into every hole. This is where the magic happens as the filling transforms the simple cake into a moist and flavorful one.
Preparing the Topping
While your cake is chilling and absorbing all the flavors from the filling, let's prepare the topping. In a clean mixing bowl, take the remaining block of cream cheese and mix until smooth. Add in the powdered sugar, another teaspoon of vanilla, and a bit of whipped topping, stirring until everything is well combined. This topping will give your cake a rich, creamy finish.
Applying the Topping and Decorating
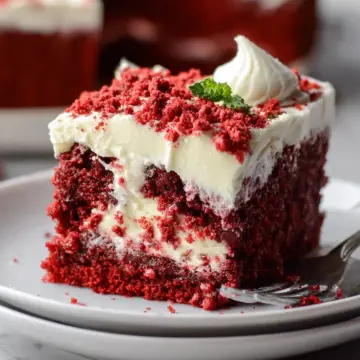
Now comes the fun part! Spread the cream cheese mixture evenly over the red velvet poke cake. Feel free to get creative with your decorations—sprinkles, mini chocolate chips, or even crushed nuts can add a lovely touch to your masterpiece. Once you finish decorating, refrigerate the cake for at least two hours to let the flavors meld together.
This cake is perfect for any occasion, and using colorful sprinkles can make it a standout at celebrations! Enjoy making and sharing your homemade red velvet poke cake.
Variations on Red Velvet Poke Cake
Valentines-themed Poke Cake
Celebrate love with a Valentines-themed red velvet poke cake! Infuse your cake with a romantic touch by using heart-shaped sprinkles or a luscious layer of cream cheese frosting tinted with pink food coloring. You could even create a delightful berry compote to drizzle on top, adding a fresh and fruity element that pairs wonderfully with the richness of red velvet.
Chocolate-Infused Poke Cake Options
For the chocolate lovers among us, consider a chocolate-infused red velvet poke cake. Simply mix in some cocoa powder into your cake batter or layer the creamy filling with chocolate ganache. Toss in mini chocolate chips within the whipped topping for that extra chocolatey bite. This delectable twist elevates your poke cake and offers a delightful surprise in every slice!
Ready to explore more variations? You can find exciting ideas at Serious Eats or Bon Appétit.
Cooking Tips and Notes for Red Velvet Poke Cake
Common mistakes to avoid
When making your red velvet poke cake, forget the temptation to skip poking holes in the cake—this step is crucial! If the holes are too shallow, the filling won’t penetrate deep enough, leaving you with a less decadent dessert. Also, be cautious not to overmix your cream cheese layer; a smooth mixture is key, but too much mixing can introduce air bubbles.
Storage and longevity tips
To keep your red velvet poke cake fresh, store it in an airtight container in the refrigerator. It can last up to three to four days. If you want to enjoy it later, consider freezing individual slices for up to a month. Just wrap each piece tightly in plastic wrap, then foil, to prevent freezer burn. When ready to eat, simply thaw in the fridge overnight!
For more tips on proper cake storage, check out The Spruce Eats.
Serving Suggestions for Red Velvet Poke Cake
Pairing ideas for a delightful dessert experience
When serving your red velvet poke cake, consider pairing it with a scoop of homemade vanilla ice cream or a dollop of whipped cream for added creaminess. Fresh berries, like strawberries or raspberries, provide a tart contrast that beautifully complements the rich chocolate notes. For a quick refreshment, serve with a glass of iced hibiscus tea, which gives a fruity twist.
Occasion-specific serving ideas
This delightful cake is perfect for various occasions. For birthday celebrations, top it with vibrant sprinkles or edible glitter to add a festive touch. Hosting a casual gathering? Serve slices with coffee or a rich hot chocolate. During holidays, try incorporating themed decorations, like heart-shaped sprinkles for Valentine’s Day or red and green sprinkles for a festive gathering. Each twist elevates your red velvet poke cake into an event highlight!
For more ideas about delightful desserts, check out sources like Bon Appétit or Food Network.
Time Breakdown for Red Velvet Poke Cake
When preparing your delicious red velvet poke cake, knowing the timing can make your baking experience smooth and enjoyable. Here’s a quick guide to help you plan:
Preparation Time
Expect around 20 minutes to gather your ingredients, mix the cake batter, and prepare the filling.
Baking Time
Your cake needs about 30-35 minutes in the oven to achieve that perfect, moist texture while the delightful red color develops.
Cooling Time
After baking, let it cool for at least 10 minutes before you poke the holes and add that creamy filling. Afterward, refrigerate the cake for a minimum of 2 hours so it can soak in all that goodness.
Total Time
In total, you're looking at approximately 3 hours for the whole process, including prep, bake, and chill time. This sweet treat is well worth the wait!
For more tips on your baking journey, consider checking out resources from Food Network or The Kitchn! Happy baking!
Nutritional Facts for Red Velvet Poke Cake
When indulging in this delightful red velvet poke cake, it’s essential to be aware of the nutritional content. A typical slice (about 1/12 of the cake) contains approximately:
- Calories: 320
- Protein: 4g
- Sugar: 24g
- Fat: 15g
This cake is an enjoyable treat, so if you're watching your intake, moderation is key! For further details on nutrition, you can check resources like the USDA FoodData Central.
FAQs about Red Velvet Poke Cake
Can I use a homemade cake mix?
Absolutely! If you're feeling adventurous, you can make a homemade red velvet cake mix instead of using a box mix. Just ensure it’s baked in a 9×13-inch pan, and follow the same steps for puffing it up with the sweetened condensed milk mixture. Here's a great homemade red velvet cake recipe if you're interested!
How do I make the poke cake gluten-free?
To customize your red velvet poke cake for gluten-free diets, simply swap the regular cake mix for a gluten-free version. Many popular brands offer ready-to-use gluten-free cake mixes. Don't forget to double-check your other ingredients, like the whipped topping, for any hidden gluten in their formulations.
What’s the best way to store leftovers?
Storing your leftovers is easy! Keep your red velvet poke cake in an airtight container in the refrigerator, ideally up to 3 days. This helps maintain its creamy topping and moist texture. When you’re ready to enjoy another slice, simply take it out, and it’s ready to indulge! For longer storage, consider freezing the cake without the topping; just wrap it tightly to prevent freezer burn.
Conclusion on Red Velvet Poke Cake
Final thoughts on enjoying your homemade delight
There’s something magical about a red velvet poke cake—it’s a perfect blend of richness and sweetness. Delight in each bite, and don’t hesitate to share it with friends or family. Pair it with coffee or a refreshing drink for a complete experience! Happy baking!
Red Velvet Poke Cake
Equipment
- mixing bowl
- 9×13-inch pan
- spatula
- whisk
Ingredients
Cake Ingredients
- 1 box red velvet cake mix prepared in a 9×13-inch pan
- 1 can sweetened condensed milk 14 ounces
- 2 teaspoons vanilla extract divided
- 2 blocks cream cheese 8 ounces each, softened, divided
- ½ cup powdered sugar
- 1 tub whipped topping 8 ounces
- sprinkles if desired
Instructions
Cake Instructions
- Prepare the red velvet cake mix and bake in a 9×13-inch pan according to the box instructions.
- While the cake is in the oven, add one 8 ounce block of cream cheese to a mixing bowl.
- Stir the cream cheese and 1 teaspoon of the vanilla until it's smooth.
- Slowly add the sweetened condensed milk and mix until smooth.
- When the cake comes out of the oven, use the end of a wooden spoon to poke holes into the cake.
- Pour the filling over the cake, using a spatula to spread it out and help it get into the holes.
- Refrigerate for at least 2 hours.
- In a large mixing bowl, stir the remaining cream cheese until smooth.
- Add the powdered sugar, 1 teaspoon of vanilla and a little bit of the whipped topping; stir until smooth.
- Keep adding the whipped topping until it's all incorporated.
- Spread evenly over the cake.
- Decorate as desired with sprinkles, mini chocolate chips, etc!
- Enjoy immediately or refrigerate until ready to serve.
Leave a Reply