
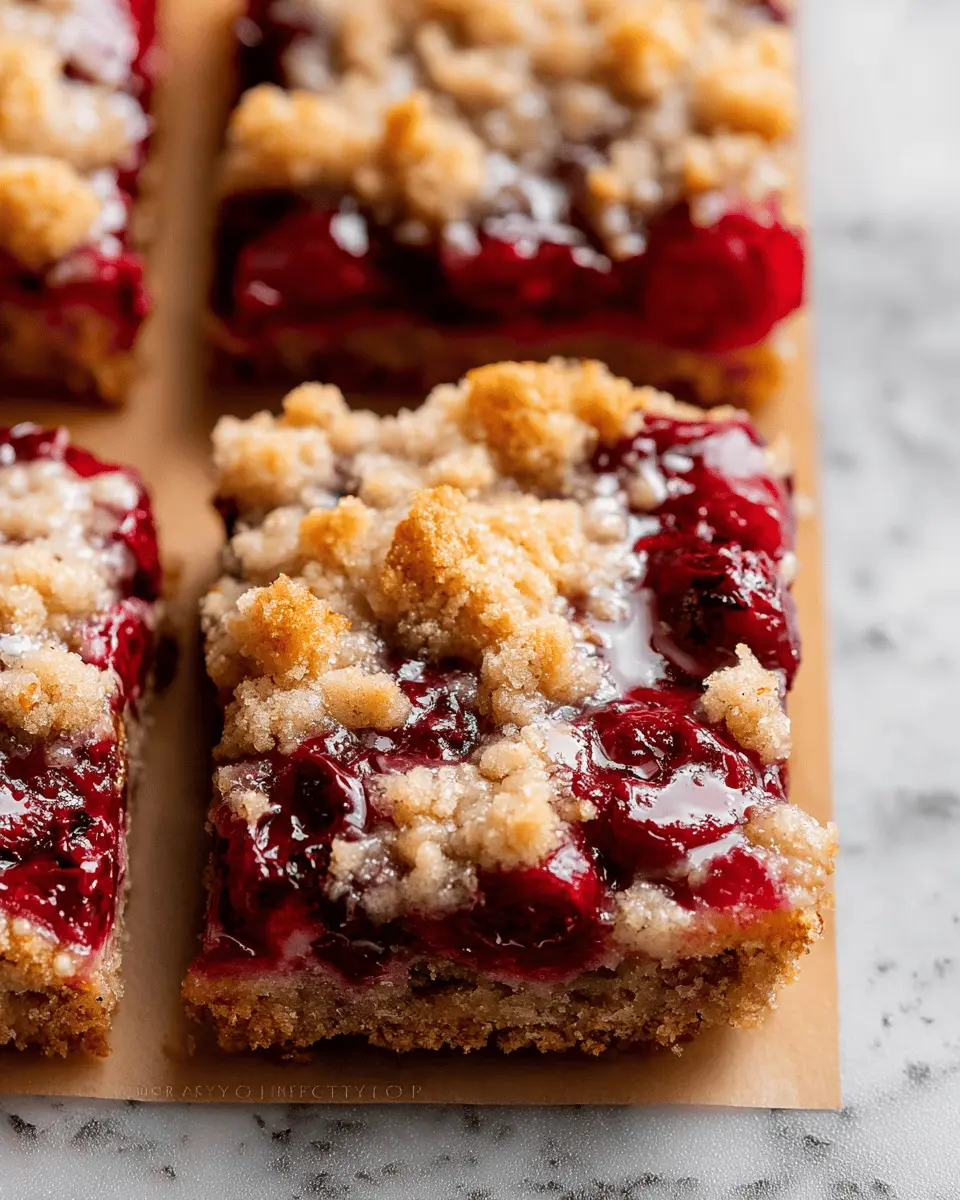
Introduction to Crumb-Topped Cherry Pie Bars
If you're a young professional balancing work and life, finding the time to whip up a delicious dessert can feel overwhelming. Enter Crumb-Topped Cherry Pie Bars—the perfect solution! These delightful bars bring all the classic flavors of cherry pie together, but with far less effort and time. Why spend hours on a traditional pie when you can achieve the same satisfaction in a simple, two-layered treat?
Why Crumb-Topped Cherry Pie Bars are Perfect for Young Professionals
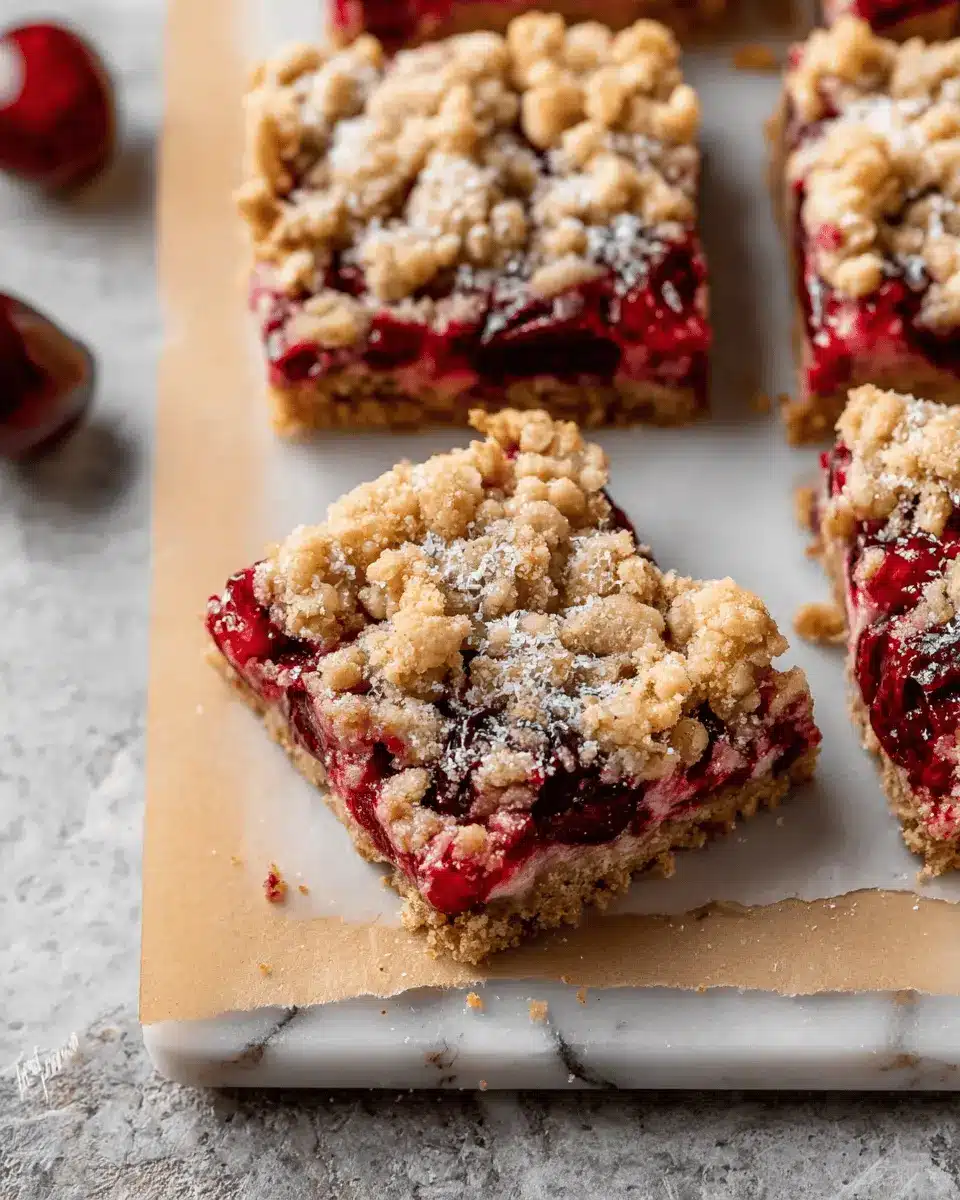
These bars are not only quick to make, but they also pack a flavor punch that will impress your friends and family. The combination of sweet and slightly tart sour cherries and a buttery crumble topping creates a balance of textures that’s truly irresistible. Plus, once they’re baked and cooled, they are easy to transport—perfect for sharing at work events or casual get-togethers.
What’s even better? Most of the ingredients are pantry staples, so you won't have to make an extra grocery run. Just pop some frozen cherries in your cart next time you’re at the store, and you're all set to enjoy these delightful bars in no time. So, grab your apron, and let’s get baking!
For more tips on measuring baking ingredients, check out Sally's Baking Addiction.
Ingredients for Crumb-Topped Cherry Pie Bars
Crust + Topping Ingredients
To create the deliciously delectable crust and topping for your Crumb-Topped Cherry Pie Bars, gather the following ingredients:
- 1 and ½ cups all-purpose flour (spooned & leveled)
- 1 cup + 2 tablespoons old-fashioned whole rolled oats, divided
- ½ cup packed light or dark brown sugar
- 1 teaspoon baking powder
- 1 teaspoon lemon zest for a touch of brightness
- ⅛ teaspoon salt to enhance flavors
- 10 tablespoons unsalted butter, melted for that rich taste
- 1 teaspoon pure vanilla extract
Cherry Filling Ingredients
Next up, let’s whip up the cherry filling that really steals the show. You’ll need:
- 1 and ½ tablespoons cornstarch to thicken things up
- 3 and ½ cups frozen sour cherries (don’t thaw them!)
- ½ cup granulated sugar for just the right amount of sweetness
- 1 teaspoon fresh lemon juice to balance the flavors
- ¼ teaspoon almond extract for a subtle nutty twist
Optional Almond Icing Ingredients
Feeling a bit fancy? Here’s how to add a drizzle of optional almond icing on top:
- 1 cup confectioners’ sugar
- 2 tablespoons milk for that creamy consistency
- ¼ teaspoon almond extract to tie it all together
With these flavorful ingredients in hand, you’re well on your way to creating your Crumb-Topped Cherry Pie Bars! Don’t forget to check out more tips on making the perfect crust here. You’ll be the star of any gathering!
Step-by-Step Preparation of Crumb-Topped Cherry Pie Bars
Preheat the Oven and Prepare the Baking Pan
To kick things off, preheat your oven to 350°F (177°C). This ensures it’s nice and ready for your delicious Crumb-Topped Cherry Pie Bars. Next, grab a 9-inch square baking pan—a favorite of mine is this non-stick option—and line it with parchment paper. Let the paper hang over the edges to create convenient handles for lifting the bars out once they’re baked. Set it aside, and let’s get to work!
Make the Crust
In a medium bowl, whisk together:
- 1 and ½ cups all-purpose flour
- 1 cup plus 2 tablespoons old-fashioned rolled oats
- ½ cup packed light or dark brown sugar
- 1 teaspoon baking powder
- 1 teaspoon lemon zest
- ⅛ teaspoon salt
This mixture should dance together until well combined, creating a fragrant and inviting aroma. Now, add in 10 tablespoons of melted unsalted butter and 1 teaspoon of pure vanilla extract. Stir until the mixture resembles moist, crumbly sand. You should have just over 3 cups of this crust mixture. Take about ⅔ of it (that’s roughly 2 cups) and press it firmly into the base of your prepared pan. Bake for 10 minutes and then remove it to cool slightly. This initial baking will give your crust a hearty base!
Prepare the Cherry Filling
While your crust is cooling, it’s time to dive into the cherry filling! Begin by placing 1 and ½ tablespoons of cornstarch in a small bowl. Give it a moment since you’ll need it soon. In a medium saucepan over medium heat, combine 3 and ½ cups of frozen sour cherries (no thawing necessary!), ½ cup granulated sugar, and 1 teaspoon of fresh lemon juice. Stir occasionally until the cherries start to release their delicious juices—this should take about 4 to 6 minutes.
During this time, carefully scoop out a few spoonfuls of the cherry juice and mix it with the cornstarch until it's dissolved. Next, stir this back into the cherry mixture and bring everything to a boil. Keep stirring until your filling thickens, typically about 10 minutes. This will yield a glossy, berry-packed delight!
Combine Filling and Crust
Pour the warm cherry filling over the slightly cooled crust, spreading it evenly. For that crumbly top layer, mix 2 tablespoons of oats into the remaining crumb mixture and sprinkle it generously over the cherries. Give it a gentle press with the back of a spoon to ensure it stays put during baking—no cherry spillover here!
Bake the Bars
Finally, slide your pan into the oven and bake for about 40 to 50 minutes, or until the top is lightly browned. You want a toothpick to come out mostly clean, with just a few jammy cherry specks clinging to it for that perfect finish. Once they’re out of the oven, let your Crumb-Topped Cherry Pie Bars cool completely in the pan on a wire rack. If you're in a hurry, pop the pan in the fridge for a quicker chill.
Now that you have this wonderful guide, you’re ready to impress your friends or simply indulge in a sweet treat that shines with the taste of summer cherries! Enjoy!
Variations on Crumb-Topped Cherry Pie Bars
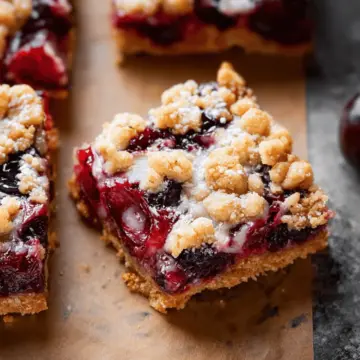
Berry Blend Crumb Bars
Looking to switch things up with your Crumb-Topped Cherry Pie Bars? Consider using a mix of berries for a delightful twist! Combine raspberries, blueberries, and blackberries with the cherries for a colorful and flavorful bar. The tartness from the mixed berries enhances the sweetness of the crumb topping, making it a crowd-pleaser. Just follow the same cherry filling instructions but substitute the cherries for this berry blend. Trust me; it’s a game-changer!
Vegan Crumb-Topped Cherry Pie Bars
Are you seeking a vegan option? You can easily convert these crumb-topped cherry pie bars into a plant-based treat! Substitute the unsalted butter with coconut oil or a vegan butter alternative. For the icing, use almond or oat milk instead of regular milk. You won’t sacrifice flavor, and your vegan friends will thank you! For more vegan baking tips, check out resources like Minimalist Baker. Enjoy experimenting!
Cooking Tips and Notes for Crumb-Topped Cherry Pie Bars
Ensuring the Perfect Crust
To achieve a stellar crust for your Crumb-Topped Cherry Pie Bars, make sure to press the crust mixture firmly into the baking pan. This helps prevent it from crumbling when you cut the bars. Selecting the right type of butter is also crucial—using unsalted butter allows you to control the sweetness perfectly. Remember to let the crust pre-bake just until it’s set, as this creates a delightful texture.
Choosing the Right Cherries
For the filling, opt for frozen sour cherries for an optimal tart flavor. If you're uncertain which brand to select, check out this guide on frozen fruits. Their natural acidity balances the sweetness of the crust, making each bite a burst of flavor. Feel free to experiment with sweet cherries too for a contrasting taste!
Serving Suggestions for Crumb-Topped Cherry Pie Bars
Pairing with Ice Cream
Elevate your Crumb-Topped Cherry Pie Bars by serving them warm with a scoop of vanilla ice cream. The creaminess of the ice cream perfectly balances the tart cherry filling, creating a delightful contrast. If you’re feeling adventurous, try almond or even a luscious chocolate ice cream for a tantalizing twist.
Ideal Beverages to Serve with Bars
To complement your dessert, consider refreshing choices like herbal tea or a sparkling lemonade. The citrus notes in these drinks enhance the cherry pie flavor while keeping the palate clean. For a cozy vibe, a hot cup of coffee or chai latte pairs beautifully too! Take a moment to explore National Coffee Association for intriguing coffee recipes to try alongside your bars.
Time Breakdown for Crumb-Topped Cherry Pie Bars
Preparation Time
Get your kitchen ready! You’ll need about 20 minutes to prepare your ingredients and make the delicious crust and cherry filling. This step is straightforward and enjoyable, making it perfect for a cozy weekend baking session.
Baking Time
Once your bars are assembled, they'll need 40 to 50 minutes in the oven. You’ll want to keep an eye on them; the goal is to achieve a lovely golden color while ensuring the filling thickens beautifully.
Total Time
In total, set aside about 1 hour and 10 minutes for these fabulous Crumb-Topped Cherry Pie Bars from start to finish. This includes cooling time, so you can easily get ahead on other activities while they bake! Enjoy some time with a good book or catch up on your favorite show as the heavenly aroma fills your kitchen.
Nutritional Facts for Crumb-Topped Cherry Pie Bars
When indulging in these delightful Crumb-Topped Cherry Pie Bars, it’s good to know what you’re savoring. Here’s a quick look at their nutritional profile to help you enjoy these treats guilt-free!
Calories
Each bar contains approximately 200 calories, providing a sweet option that can fit into your daily regimen without derailing your healthy eating goals.
Protein
With about 3 grams of protein per serving, these bars offer a modest boost, thanks to the oats and cherry filling, making them a fun way to power through your afternoon slump.
Sugar Content
These bars hold around 10 grams of sugar each, giving you that sweet cherry flavor without an overwhelming amount of sweetness. Pair them with a cup of green tea for a balanced snack!
For those looking to make healthier choices, consider checking out the American Heart Association’s guidelines on sugar intake to stay informed. If you prefer to sweeten your bars naturally, try reducing the sugar or using alternatives like greek yogurt, which offers additional nutritional benefits.
FAQ about Crumb-Topped Cherry Pie Bars
Can I use fresh cherries instead of frozen?
Absolutely! While frozen cherries are great because they hold their shape and provide that perfect juicy filling, fresh cherries can also work wonders in these Crumb-Topped Cherry Pie Bars. Just be sure to pit and slice them before adding to your filling mixture. If using fresh, you may want to reduce the sugar slightly since fresh cherries can be sweeter.
How do I store leftovers?
To keep your Crumb-Topped Cherry Pie Bars fresh, store them in an airtight container at room temperature for up to 3 days. If you prefer to preserve them for longer, refrigerate them for up to a week, or even freeze them for up to 3 months. Just be sure to wrap them well in plastic wrap and then place them in a freezer-safe container.
What’s the best way to reheat the bars?
To enjoy your Crumb-Topped Cherry Pie Bars warm, preheat your oven to 350°F (177°C). Place the bars in an oven-safe dish and cover them with aluminum foil to prevent browning. Heat for about 10-15 minutes, or until warmed through. Alternatively, you can microwave individual bars for about 20-30 seconds for a quick treat!
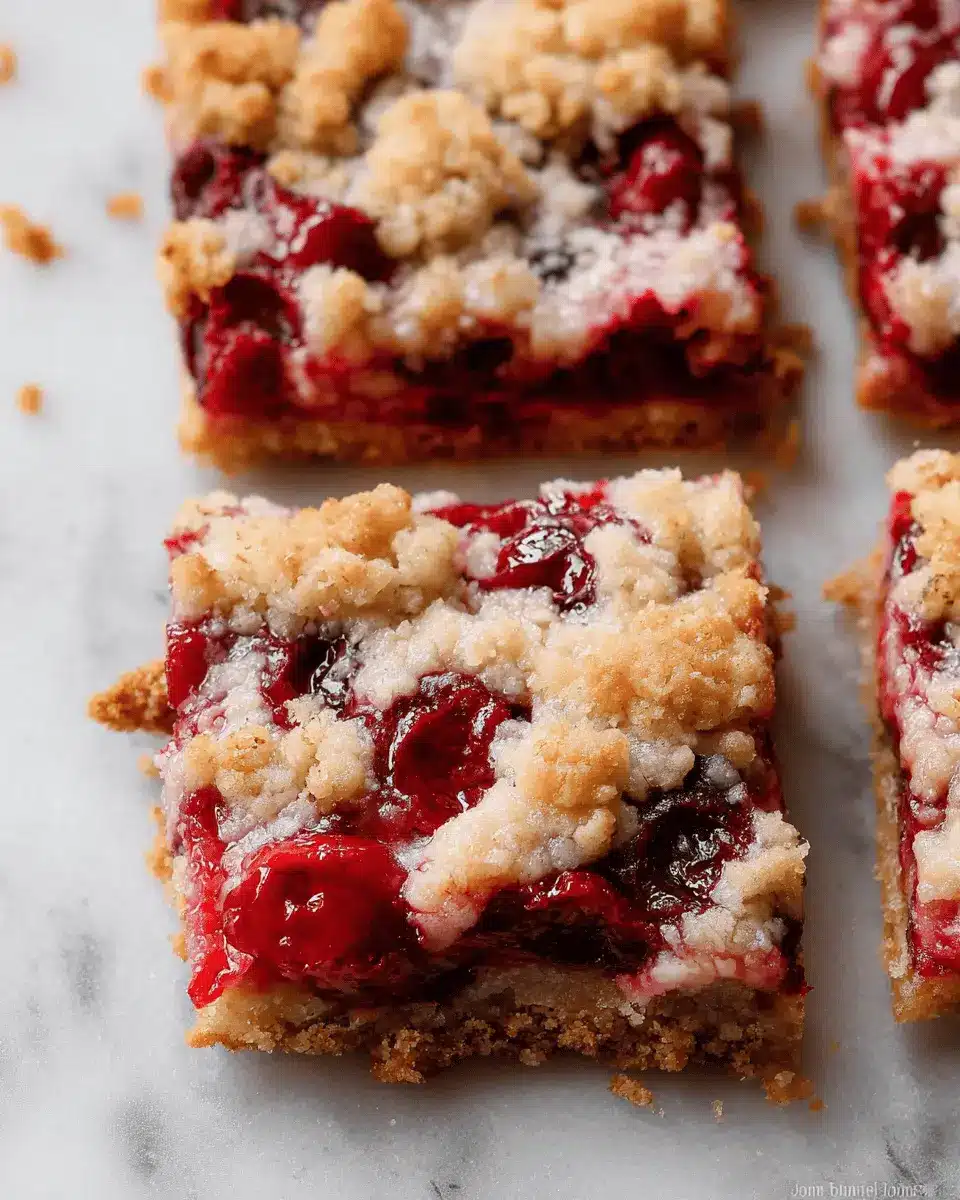
Conclusion on Crumb-Topped Cherry Pie Bars
In conclusion, these Crumb-Topped Cherry Pie Bars are not only a delightful treat but also simple to make. They combine rich cherry filling with a crunchy topping, making them perfect for any gathering. Enjoy them warm or chilled, and don’t forget to drizzle on the optional almond icing for a delicious finishing touch. Happy baking!
Crumb-Topped Cherry Pie Bars: The Best Sweet Treat for You
Equipment
- 9-inch square baking pan
- medium bowl
- medium saucepan
- fork
- wire rack
Ingredients
Crust + Topping
- 1.5 cups all-purpose flour spooned & leveled
- 1 cups whole rolled oats divided
- 2 Tablespoons whole rolled oats
- 0.5 cups packed light or dark brown sugar
- 1 teaspoon baking powder
- 1 teaspoon lemon zest
- 0.125 teaspoon salt
- 10 Tablespoons unsalted butter melted
- 1 teaspoon pure vanilla extract
Cherry Filling
- 1.5 Tablespoons cornstarch
- 3.5 cups frozen sour cherries do not thaw
- 0.5 cups granulated sugar
- 1 teaspoon fresh lemon juice
- 0.25 teaspoon almond extract
Almond Icing (Optional)
- 1 cups confectioners’ sugar
- 2 Tablespoons milk
- 0.25 teaspoon almond extract
Instructions
Preparation
- Preheat oven to 350°F (177°C). Line a 9-inch square baking pan with parchment paper, leaving an overhang on the sides to easily lift the bars out of the pan. Set aside.
- Make the crust: Whisk the flour, 1 cup oats, brown sugar, baking powder, lemon zest, and salt together in a medium bowl. Add the melted butter and vanilla, and stir until the mixture resembles moist crumbly sand and no dry spots remain. Press ⅔ of the mixture into the prepared baking pan. Bake for 10 minutes, and then remove from the oven to slightly cool.
- Make the filling: In a medium saucepan, combine the cherries, sugar, and lemon juice. Cook, stirring occasionally, until the cherries begin to release their juices—about 4 to 6 minutes. Mix cornstarch with some cherry juice until dissolved, then stir into the filling. Bring to a boil and cook until thickened, about 10 minutes. Stir in almond extract.
- Pour/spread the filling over the warm crust. Stir 2 Tablespoons oats into the remaining crumble mixture and sprinkle it over the filling, pressing it down lightly.
- Bake for about 40–50 minutes or until the top is lightly browned. Mine take about 45 minutes.
- Remove from the oven and allow the bars to cool completely in the pan set on a wire rack. After about 1 hour, you can place the whole pan in the refrigerator to help speed things up.
- Make the optional icing: Whisk the icing ingredients together and drizzle over cooled bars.
Leave a Reply