
Introduction to Spooky Charcuterie Board
As Halloween approaches, the excitement for themed gatherings grows! One of the best ways to elevate your spooky celebrations is with a spooky charcuterie board. Not only does this festive creation serve as a stunning centerpiece, but it also encourages guest interaction and sharing. Imagine your friends ooh-ing and aah-ing over an edible masterpiece that tantalizes the taste buds as well as the imagination.
Halloween boards are perfect for celebrations because they blend creativity and culinary delights. In a recent survey, nearly 70% of people mentioned that a well-presented buffet enhances their dining experience, turning a simple get-together into a memorable event. When you craft a spooky charcuterie board, you’re not just serving snacks; you’re creating a conversation starter filled with flavors, textures, and seasonal cheer.
Plus, the flexibility of charcuterie boards means you can tailor your selection to cater to different dietary needs, making sure everyone can join in on the fun. From colorful fruits and spooky treats to assorted cheeses and meats, the options are endless! Check out experts like The Culinary Institute of America for tips on assembling the perfect board.
So, are you ready to create a Halloween showstopper that will impress your guests and leave them enchanted? Let’s dive into the details!
Ingredients for Spooky Charcuterie Board
Essential components for crafting the perfect spooky board
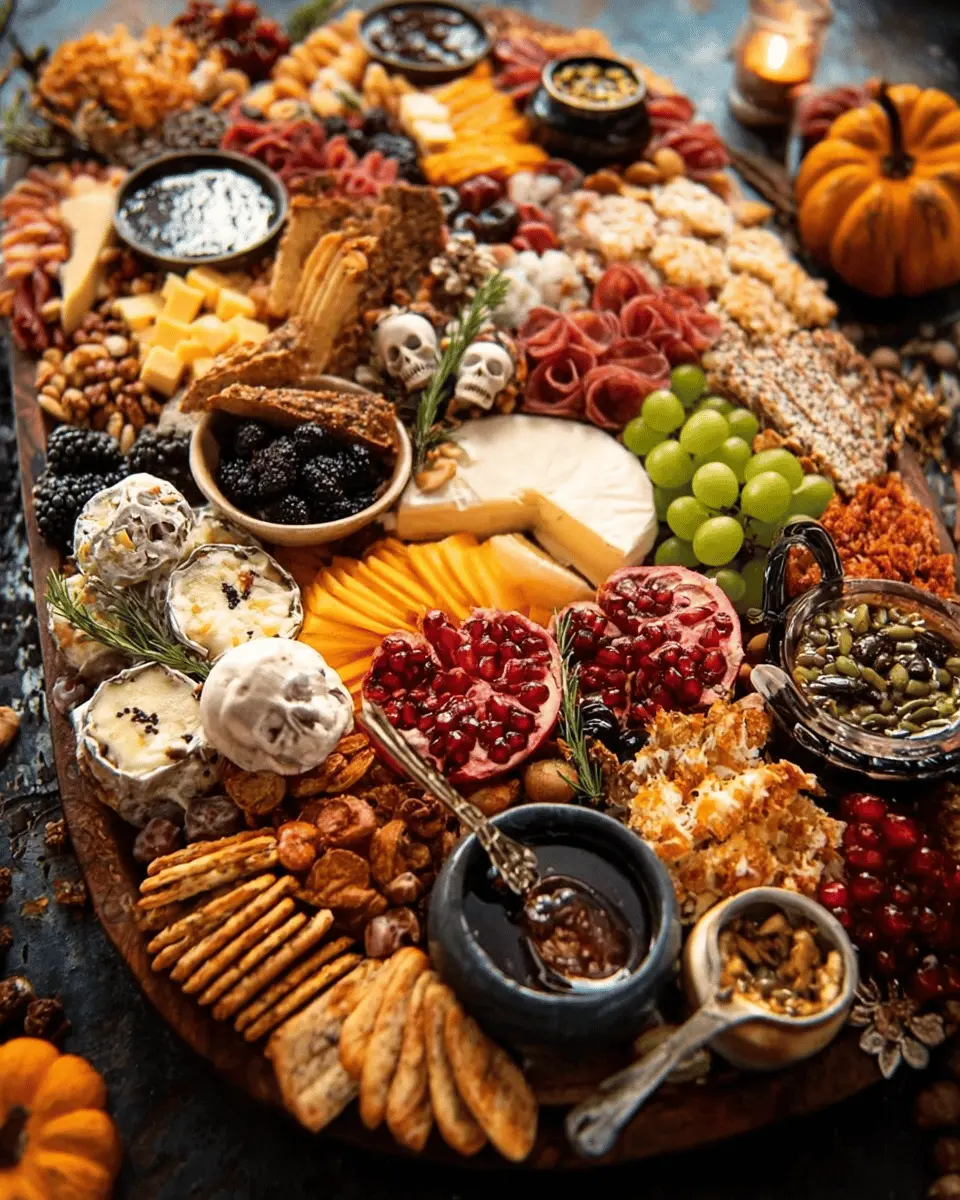
Creating a spooky charcuterie board is all about striking a balance between festive flair and delicious flavors. Here are the essential components to consider for your eerie masterpiece:
-
Servings Tray: Begin with a large, flat serving board or platter—your blank canvas for creativity.
-
Cheesy Delight: The star of your board will certainly be a round of brie, transforming into a skull that will surely impress your guests.
-
Cheese Variety: Mix it up with different cheeses like triangular Manchego for a rib effect and cubes of orange cheddar for that spooky glow.
-
Savory Meats: Elevate your board with salami, shaped into flowers and triangles, adding a touch of whimsy.
-
Fun Edibles: Incorporate yogurt pretzels for the neck, candy corns for a pop of color, and gummy worms for a creepy vibe.
-
Seasonal Fruits: Utilize sliced oranges, grapes, and blueberries to inject festive colors—purple and orange rule the Halloween scene!
-
Elegant Touches: Finally, fresh herbs and edible flowers elevate the presentation, giving your spooky charcuterie board a sophisticated edge.
For more inspiration, check out sources like The Spruce Eats for creative charcuterie ideas. Happy assembling!
Step-by-step Preparation of Spooky Charcuterie Board
Creating a spooky charcuterie board may seem daunting, but it's all about having fun and letting your creativity shine. Follow these simple steps to bring your board to life, leaving your guests in awe!
Gather Your Ingredients
The first step is to collect everything you’ll need. Here’s a handy list:
- A large, flat serving board or platter (your canvas!)
- Round of brie (for the skeleton's head)
- Assorted cheeses: triangles of Manchego, cheese sticks, and cubes of orange cheddar
- Cured meats: salami for the flower crown and folded salami for the body
- Gluten-free yogurt pretzels, candy corn, and gummy worms for added creepiness
- Festive fruits: sliced oranges, grapes, blueberries, and blackberries
- Fresh herbs and edible flowers for garnishing
Once you've gathered these ingredients, you'll be ready to start creating your spooky charcuterie board!
Arrange the Foundation
Begin by laying out your platter. The large flat surface will serve as the base for your skeleton. Start with the cheeses: arrange the Manchego triangles vertically to mimic ribs and the cheese stick horizontally for the spine. This base will give your skeleton structure while adding variety in color and texture.
Create the Skeleton's Head
To create a fantastic skeleton’s head, freeze your brie for about 30 minutes before cutting. This makes it easier to shape. Once chilled, cut the brie into a mushroom shape and trim the edges to resemble a skull. Use a sharp knife to carve out two eyes, a nose, and a mouth. For an eerie touch, spread blackberry jam on one half of the brie to create a ghoulish effect. Assemble the two halves, and for the teeth, slice up some Manchego cheese squares—it’ll look horrifyingly delightful!
Design the Body
Now it’s time to flesh out your skeleton! Use the folded salami to form the torso. Then, for the limbs, arrange pretzels to create arms and legs. Don’t forget to embellish with candy corn and gummy worms to represent guts. They’ll add that extra creep factor and a pop of color!
Add Fun Elements and Garnishes
Finally, bring everything together with some exciting elements. Place sliced oranges around the edges for a halo effect, and use grapes for earrings. Fill any gaps with blueberries and blackberries for color. Don’t shy away from garnishing with fresh herbs like rosemary or sage—they make the board feel elegant and complete.
Creating this spooky charcuterie board is a fantastic way to impress your guests while enjoying the creativity of food art. When your guests see your edible masterpiece, they'll be amazed—and eager to dive in! Happy haunting!
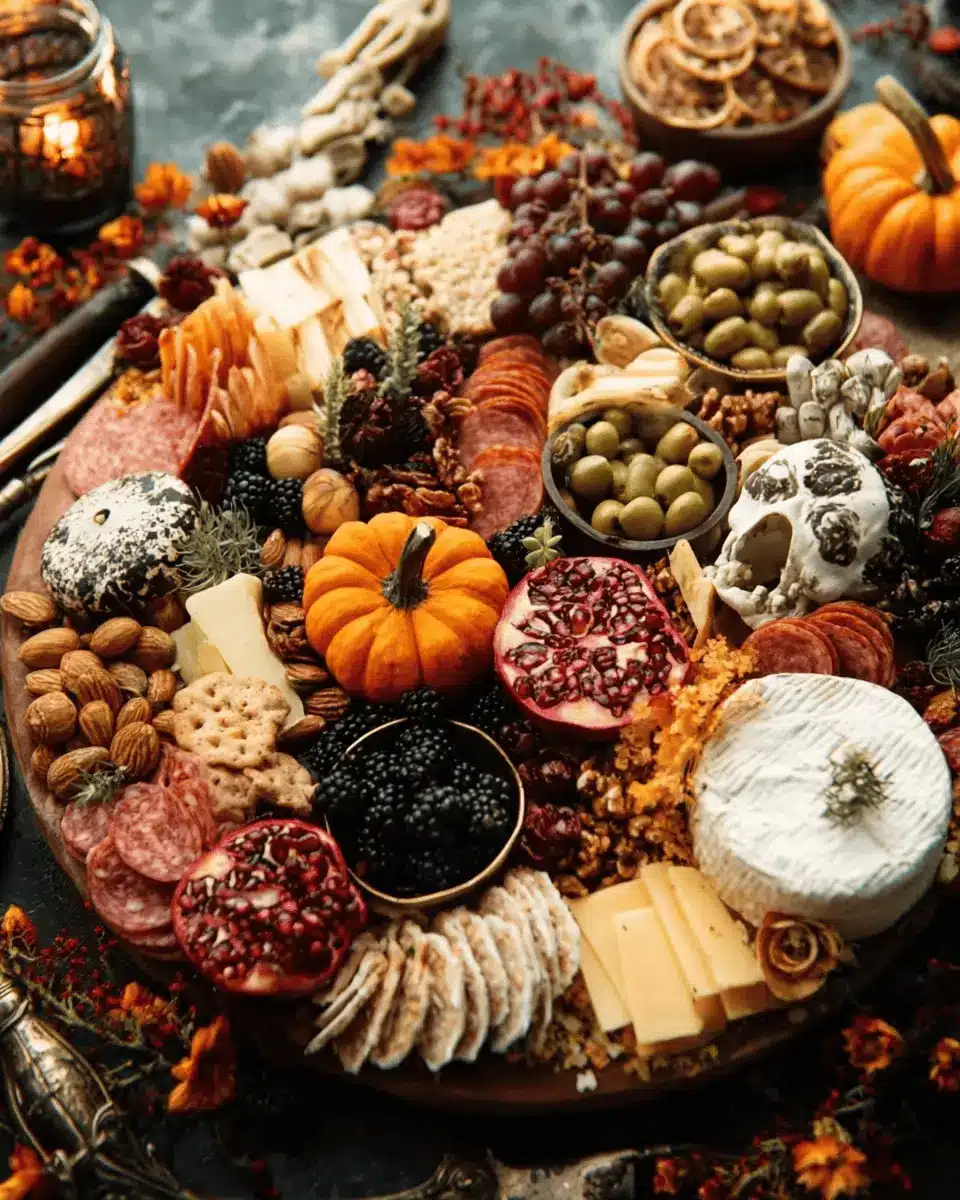
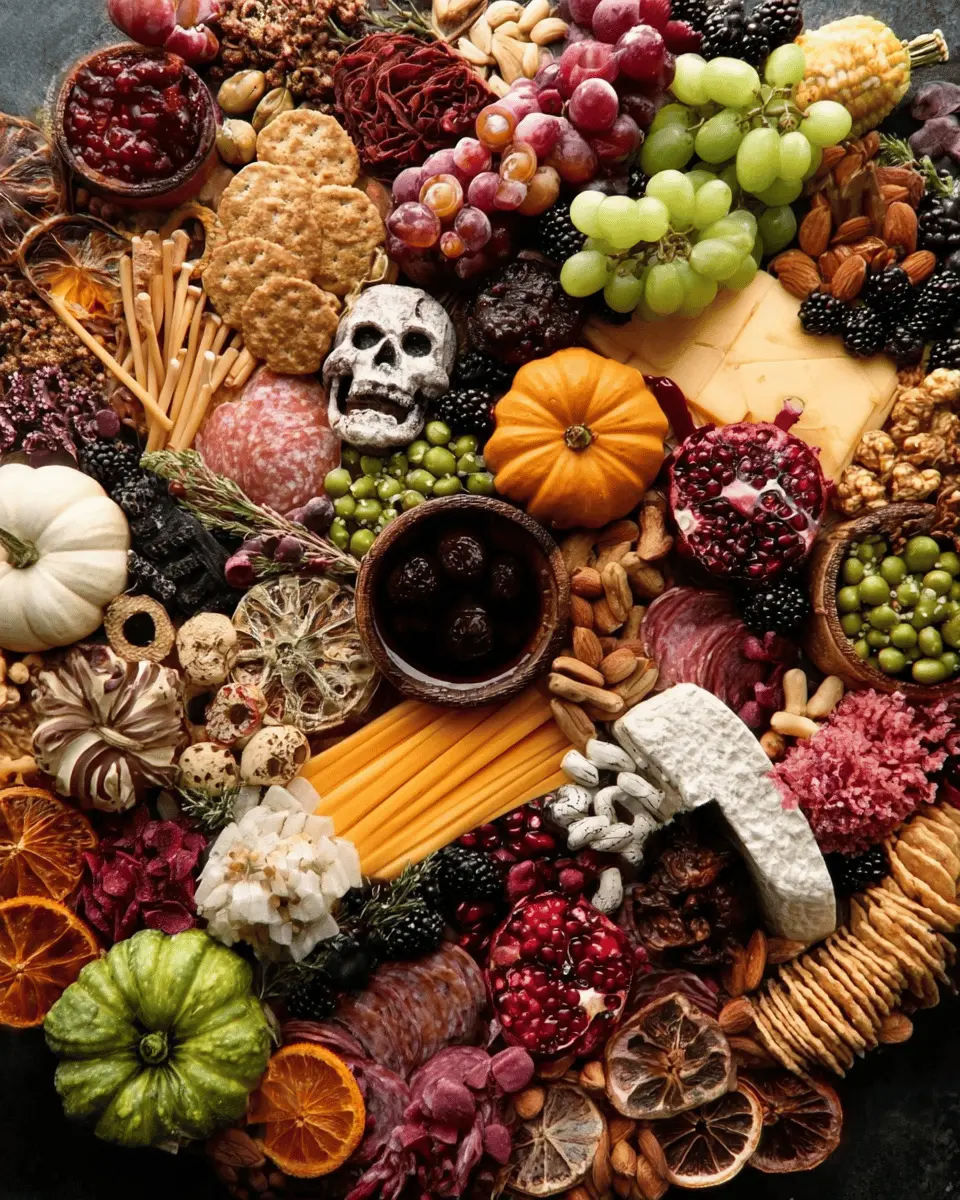
Variations on Spooky Charcuterie Board
Ghostly Vegetarian Options
Embrace the spirit of Halloween with delightful vegetarian treats! You can use sliced cucumbers and bell peppers to create eerie shapes. Think ghosts and witches using a small cookie cutter—how fun is that? Add in hummus, spinach dip, or pumpkin spread for an extra layer of flavor. For that spooky charcuterie board twist, include black olives to resemble tiny eyeballs. Don't forget to sprinkle some pomegranate seeds for an alluring pop of color!
Sweet Treats for the Halloween Lovers
Give your board a sweet side that’ll delight any Halloween enthusiast. Chocolate-covered pretzels can serve as unexpected treats among the savory options. You can also add spider-shaped cookies or creepy marshmallow ghosts. For a whimsical touch, try placing gummy spiders or bat-shaped candies around the board. These sugary classics not only look festive but also provide a delightful contrast to the savory bites. Explore more Halloween snack ideas with this guide for even more inspiration!
Cooking Tips and Notes for Spooky Charcuterie Board
Creating a spooky charcuterie board is all about fun and creativity! Here are some friendly tips to help you on your Halloween journey:
-
Plan Your Layout: Before placing your ingredients, visualize the arrangement. Consider the contrast of colors and textures for a striking display.
-
Ingredient Prep: Chill the brie ahead to make cutting easier. Pre-slice your meats and cheeses for a more inviting look.
-
Themed Touches: Use themed elements like black olives for creepy eyes or pumpkin-shaped cheeses to enhance the spooky factor.
-
Freshness Matters: Opt for fresh ingredients when possible. The flavor boost will impress your guests and keep your board looking vibrant.
Need some inspiration? Check out this guide on cheese board styling. Happy crafting!
Spooky Charcuterie Board: Easy Seasonal Treats for Every Occasion
Equipment
- Large flat serving board or platter
Ingredients
The Skeleton Frame
- 1 large flat serving board or platter as the canvas for your creation
The Skeleton Head
- 1 round of brie for the skull
Assorted Cheeses
- various Manchego cheese triangles for the ribs
- 1 cheese stick for the spine
- cubes orange cheddar cheese
Cured Meats
- folded salami triangles for the body
Pretzles and Candy
- gluten-free yogurt pretzels for the neck
- handful candy corns
- handful gummy worms for an added creepy touch
Fruits
- sliced oranges for the halo look
- handful grapes for earrings
- to taste blueberries to fill spots
- to taste blackberries to fill spots
Garnishes
- fresh herbs like sage and rosemary
Instructions
Preparation
- Arrange all of your prepared goodies to fill the board.
- Place brie in the freezer for about 30 minutes prior to slicing to make it easier to work with.
- Slice the brie into a mushroom shape, trim the edges to look like a skull, slice in half and make a nose, mouth, and two eyes.
- Add some blackberry jam on the other half of the brie and put together. For the teeth, slice a few Manchego cheese squares.
Leave a Reply